

The user interface has different modes. To switch between views, use the toolbar. The first mode is Contacts, the second is Dialpad and the last one is Call History. Click the camera icon to open the Call Window. It displays images from your local Web cam (or from a remote Web cam during a call).
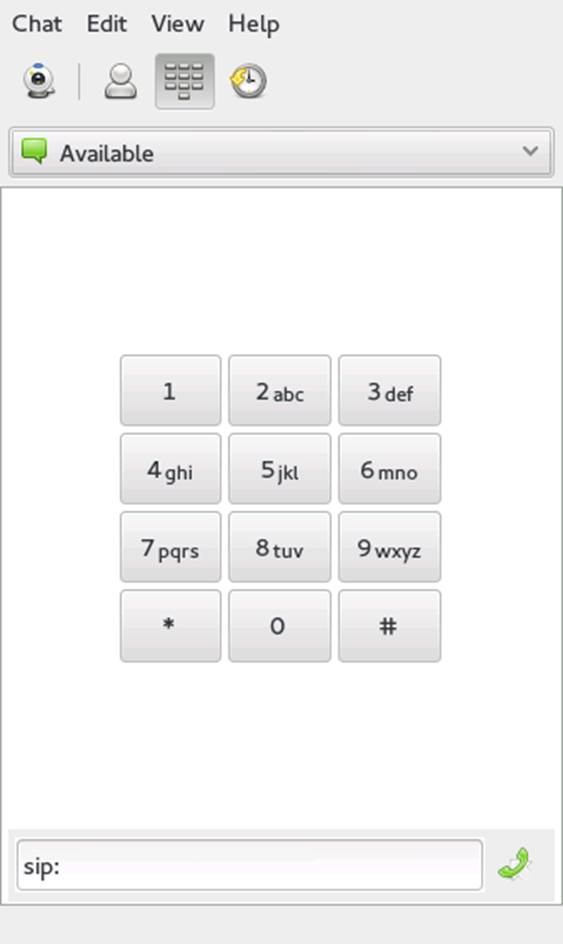
Figure 16.1: Ekiga User Interface
By default, Ekiga opens in the Contacts mode. This view shows you a local address book which lets you quickly open connections to often-used numbers.
Many of the functions of Ekiga are available with key combinations. Table 16.1, “Key Combinations for Ekiga” summarizes the most important ones.
Table 16.1: Key Combinations for Ekiga
|
Key Combination |
Description |
|
Ctrl–O |
Initiate a call with the current number. |
|
Esc |
Hang up. |
|
Ctrl–N |
Add a contact to your address book. |
|
Ctrl–B |
Open the Address Book dialog. |
|
H |
Hold the current call. |
|
T |
Transfer the current call to another party. |
|
M |
Suspend the audio stream of the current call. |
|
P |
Suspend the video stream of the current call. |
|
Ctrl–W |
Close the Ekiga user interface. |
|
Ctrl–Q |
Quit Ekiga. |
|
Ctrl–E |
Start the account manager. |
|
Ctrl–J |
Activate Call Panel on the main user interface. |
|
Ctrl–+ |
Zoom in to the picture from the Web cam. |
|
Ctrl–- |
Zoom out on the picture from the Web cam. |
|
Ctrl–0 |
Return to the normal size of the Web cam display. |
|
F11 |
Use full screen for the Web cam. |