

After starting Brasero for the first time, the main window appears as shown in Figure 19.1.
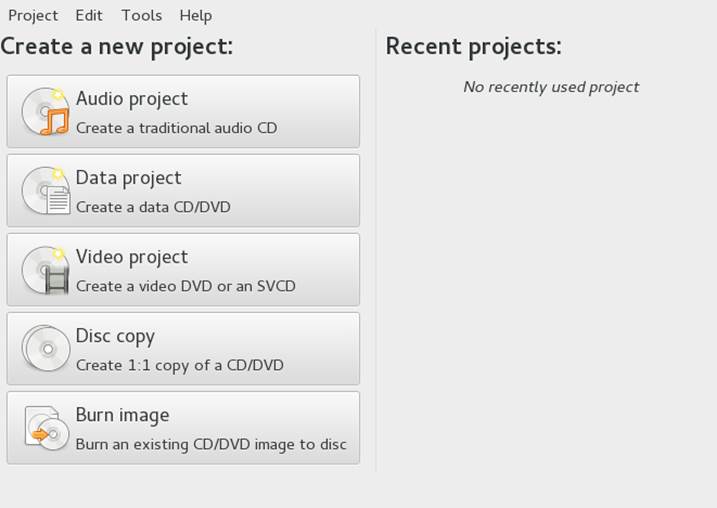
Figure 19.1: Main View of Brasero
To create a data CD or DVD, proceed as follows:
Click Data project or select Project › New Project › New Data Project. The project view appears.
Drag and drop the desired directories or individual files either from your file manager or by clicking the plus icon. To show your directory structure directly in Brasero, select View › Show Side Panel or press F7.
Optionally, save the project under a name of your choice with Project › Save As.
Name your medium. The original label is Data disc (date).
Choose the output medium from the pull down menu next to the Burn button (CD/DVD or an ISO image file).
Click Burn. A new dialog appears, depending on what medium you have selected in the previous step:
CD/DVD. You can define some parameters, like the burning speed or where to store temporary files. Under Options you can also choose whether to burn the image directly, close the session, verify the written data, and others.
ISO Image. Specify a file name for your ISO image file.
Start the process with Burn.